So I’ve had a little time off since Sturt Winter School, where I did a class in encaustic.
That usually happens, partly because I’m busy and partly because Sturt is such a buzz of concentrated art-time I need to ground myself in the world again!
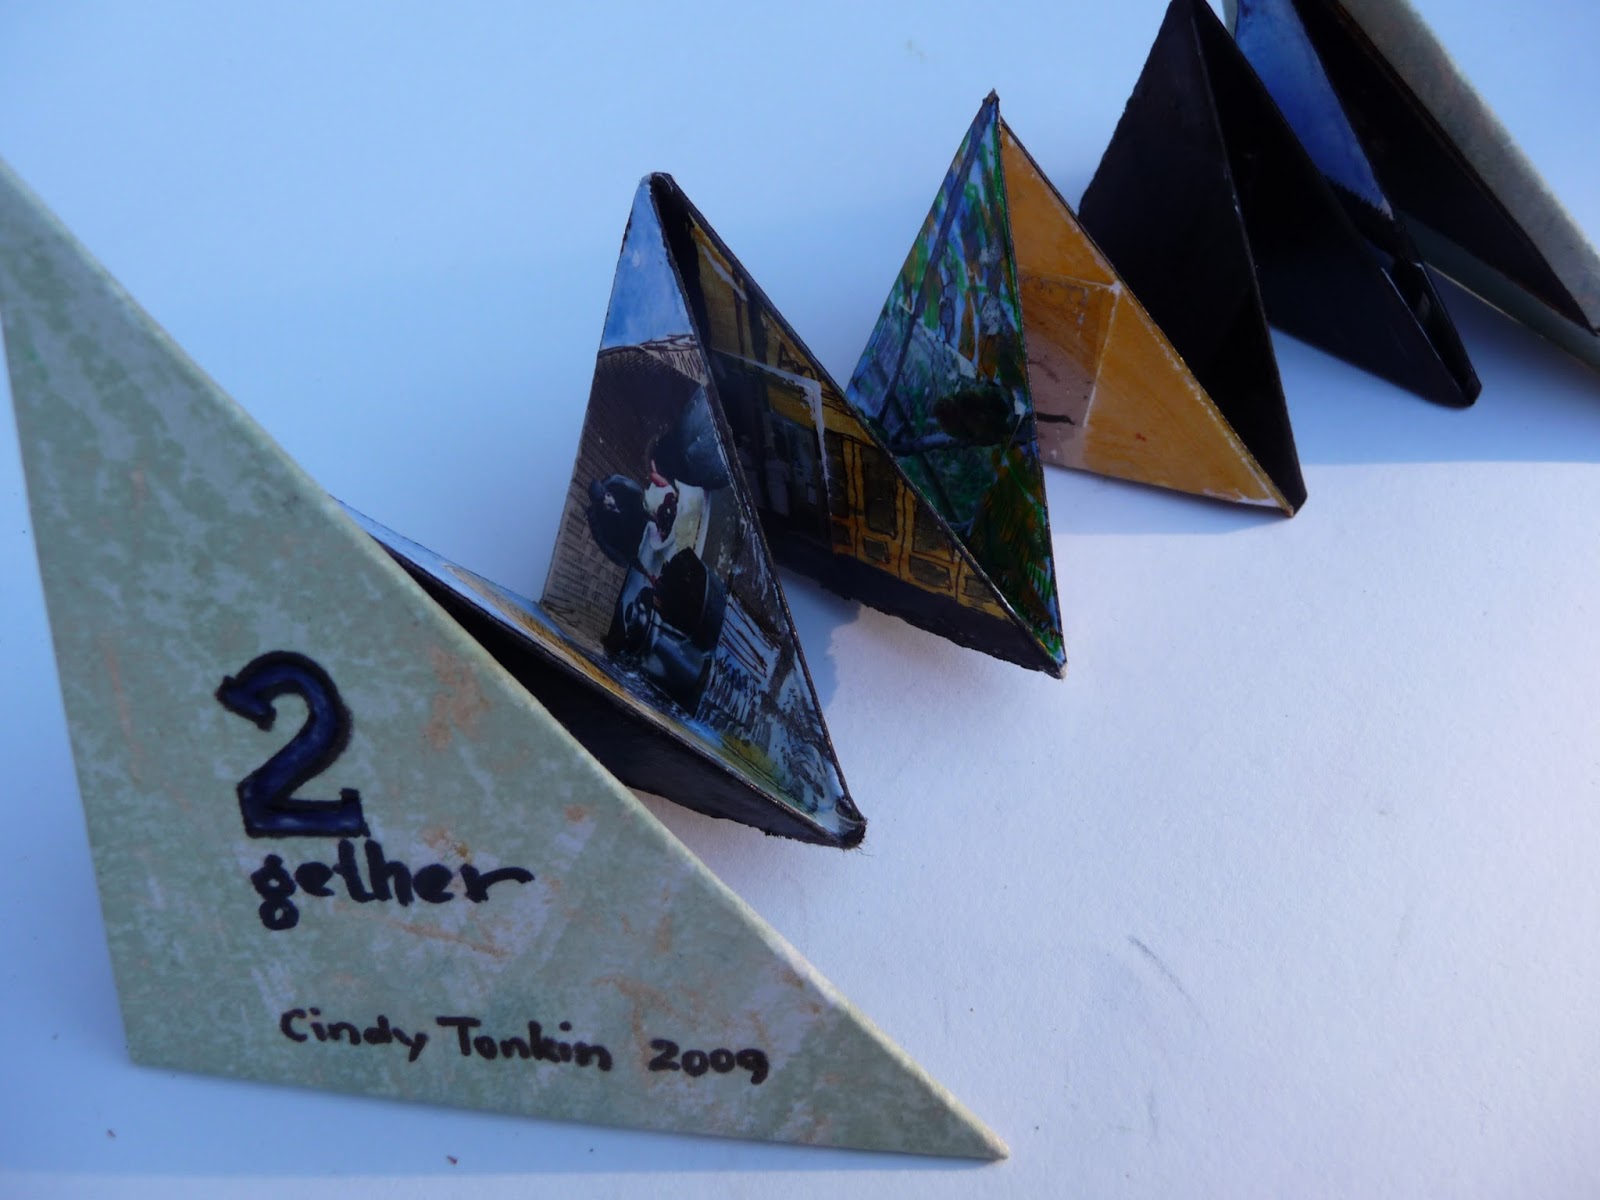
Today I played with Fimo. Alisa Golden talks about making her own buttons and closures out of modelling clay in 100 Handmade Books, so I wanted to try it.
I found air-drying Fimo, which is both paintable and collageable.
At first I was alarmed with how red the clay was.

I had thought through the kind of buttons I wanted to make (you can see the pages where I did that in the photo.
I had also thrown into my bag a few stamps and some clay tools just in case.

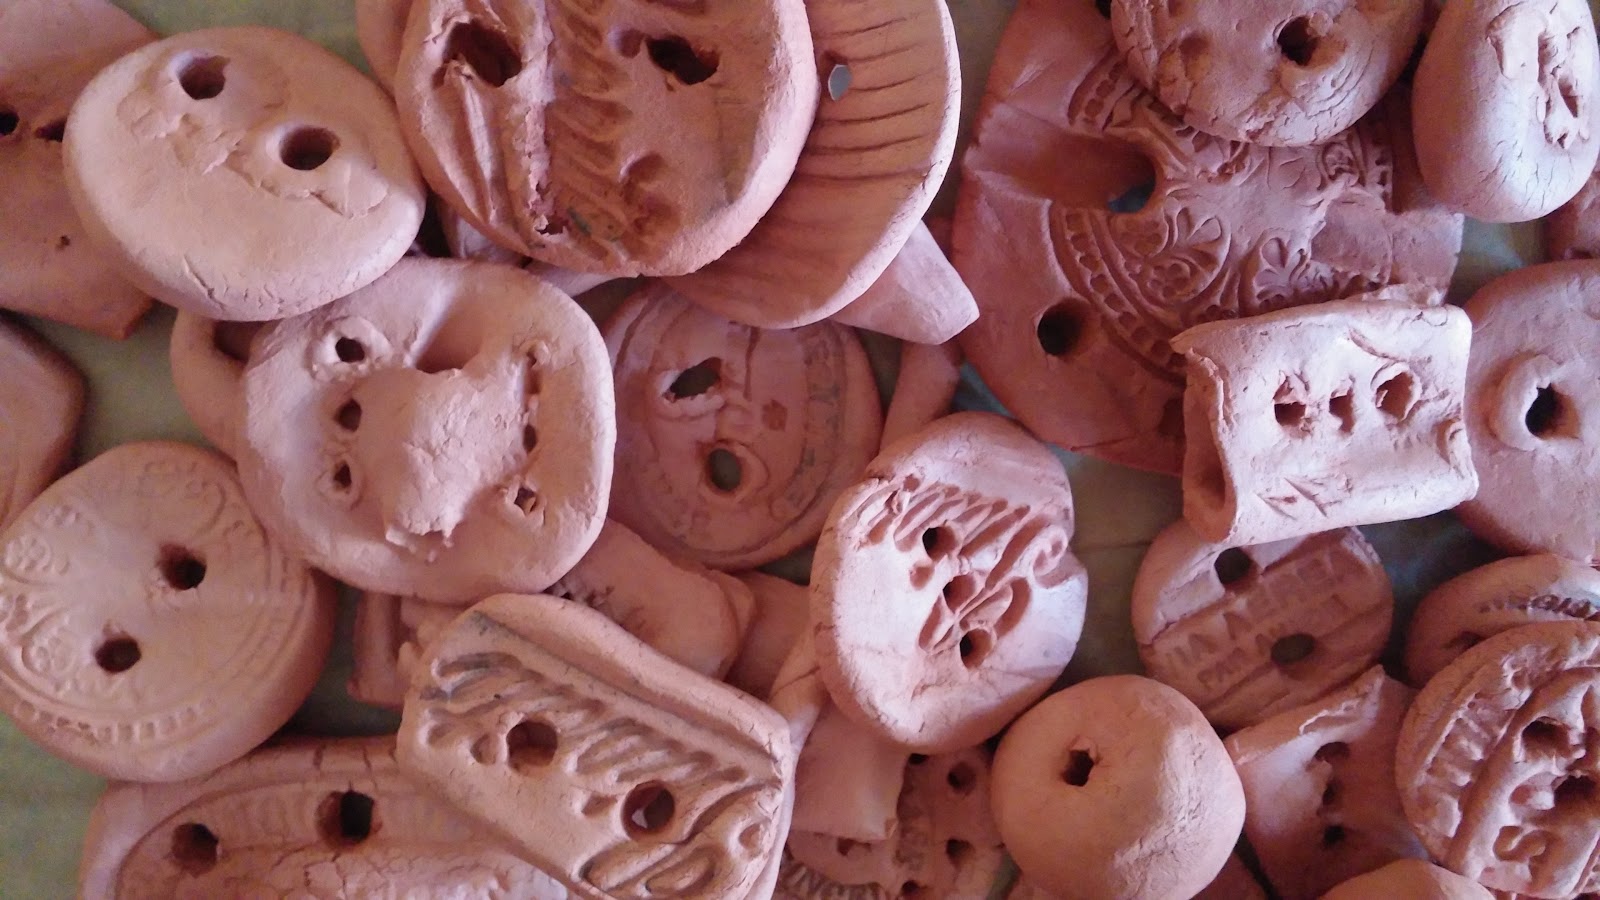
I made a stack of small buttons and a few closures. The Fimo was very sticky and because i’m not great with small things it got a little tedious towards the end. I have a set of stamps with post marks and other post-related messages on them (confidential, priorite). They worked out beautifully on the round buttons. I forgot to bring a large needle but I made do with an orange stick and later a piece of wire and a plastic fork.
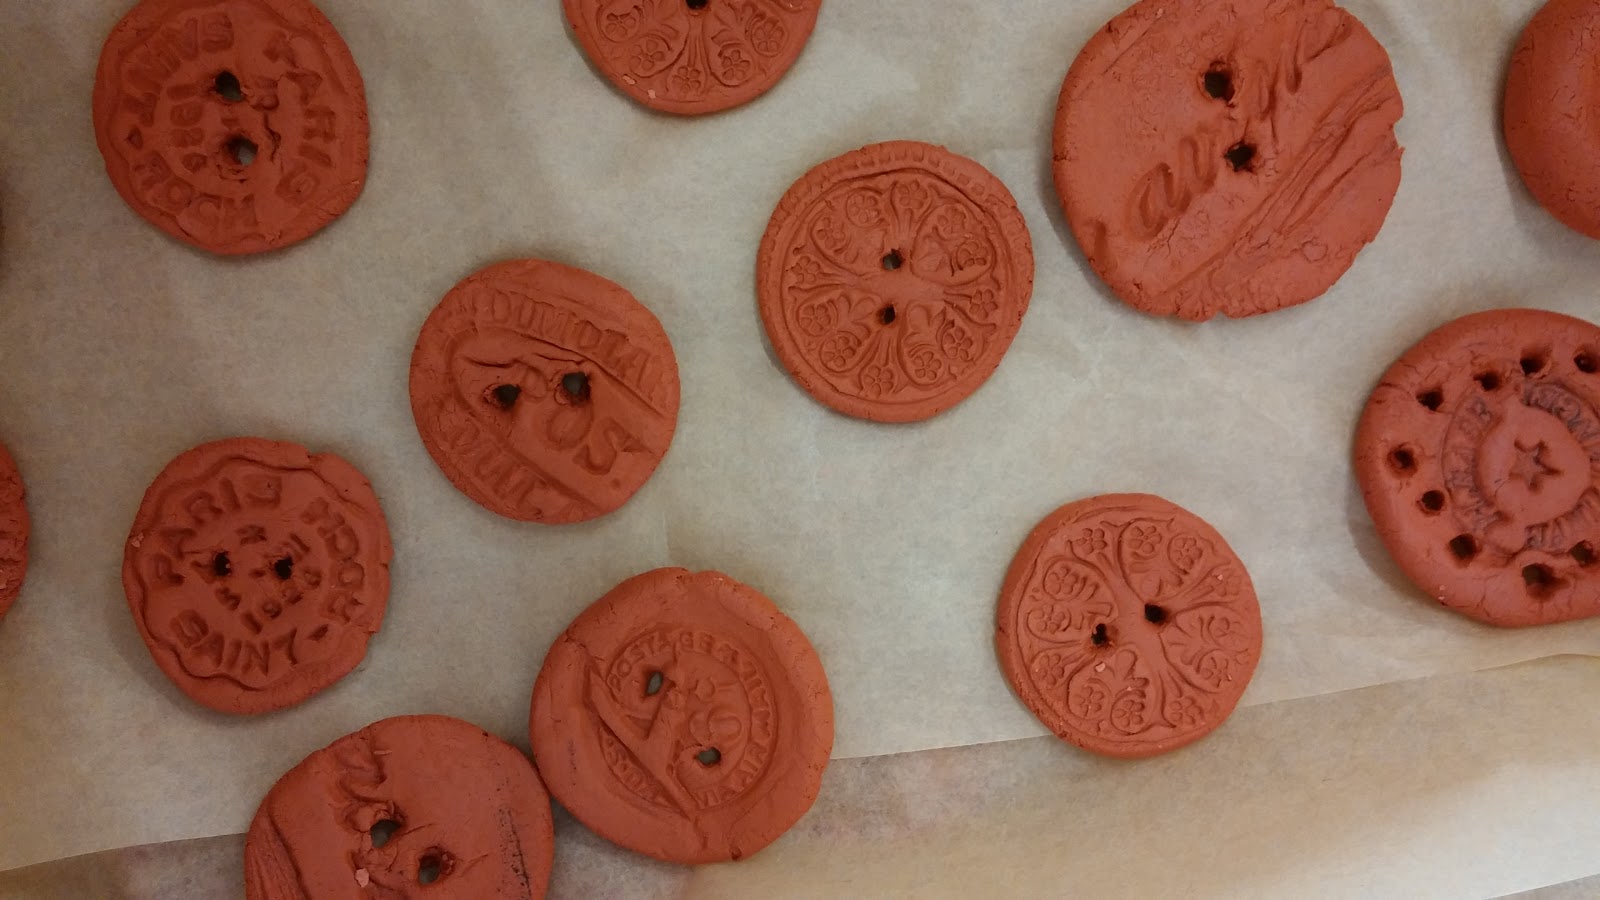
Here they are 24 hours later almost dry (see below). I’m much happier with this colour, but i will no doubt cover them with acrylic paint at the very least. And I may even add some wax. I thought I’d be able to scratch into the Fimo but it was way too wet and pliable yesterday. I might try my dremel engraving tool when they’re dry. Next time I’d
- bring a large darning needle to pierce the holes
- forget the alphabet stamps but keep the postage ones
- remember as I did yesterday the grease-proof paper, the cling wrap and a shoe box to carry them in